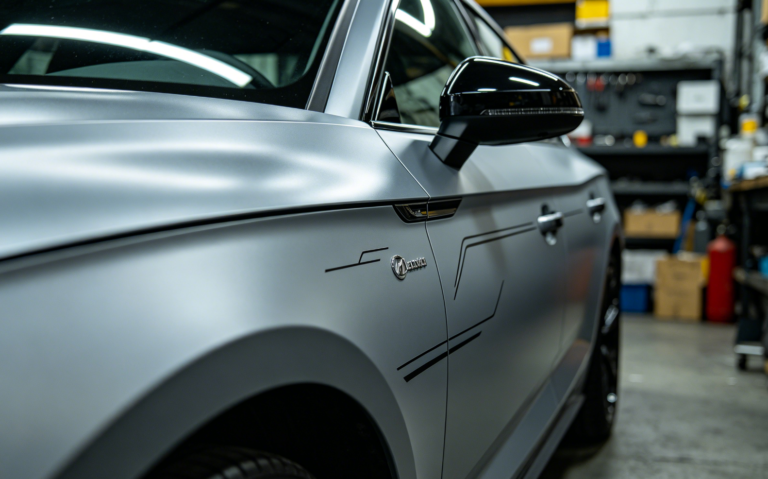
The PPF Installation Process: What to Expect from Start to Finish
A quality PPF installation is a multi-day process performed by trained specialists. Here is what typically happens:
Consultation and paint inspection. The installer examines the vehicle for existing defects, scratches, or paint issues. Any problems should be corrected before film is applied, as PPF will lock them underneath.
Decontamination. The vehicle is thoroughly washed, clayed, and sometimes treated with a paint correction process to remove embedded contaminants and swirl marks. The surface must be perfectly clean for the film to adhere.
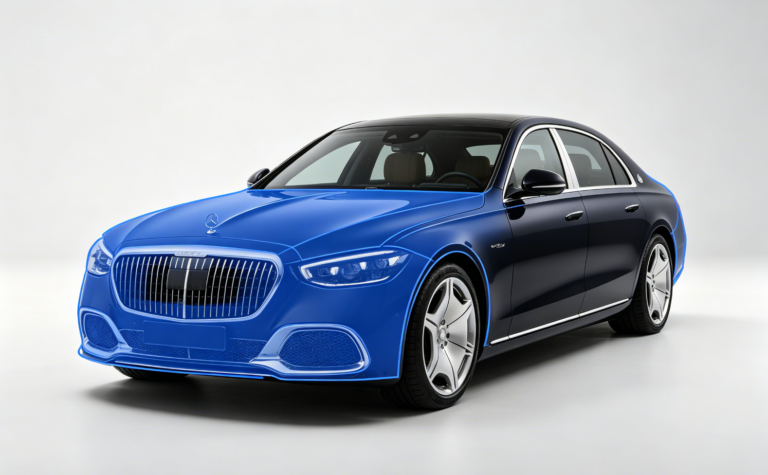
Precision cutting. Film is cut using computer-generated patterns (plotter-cut) or hand-trimmed around panels. Computer plotting is preferred because it avoids cutting directly on the vehicle’s paint.
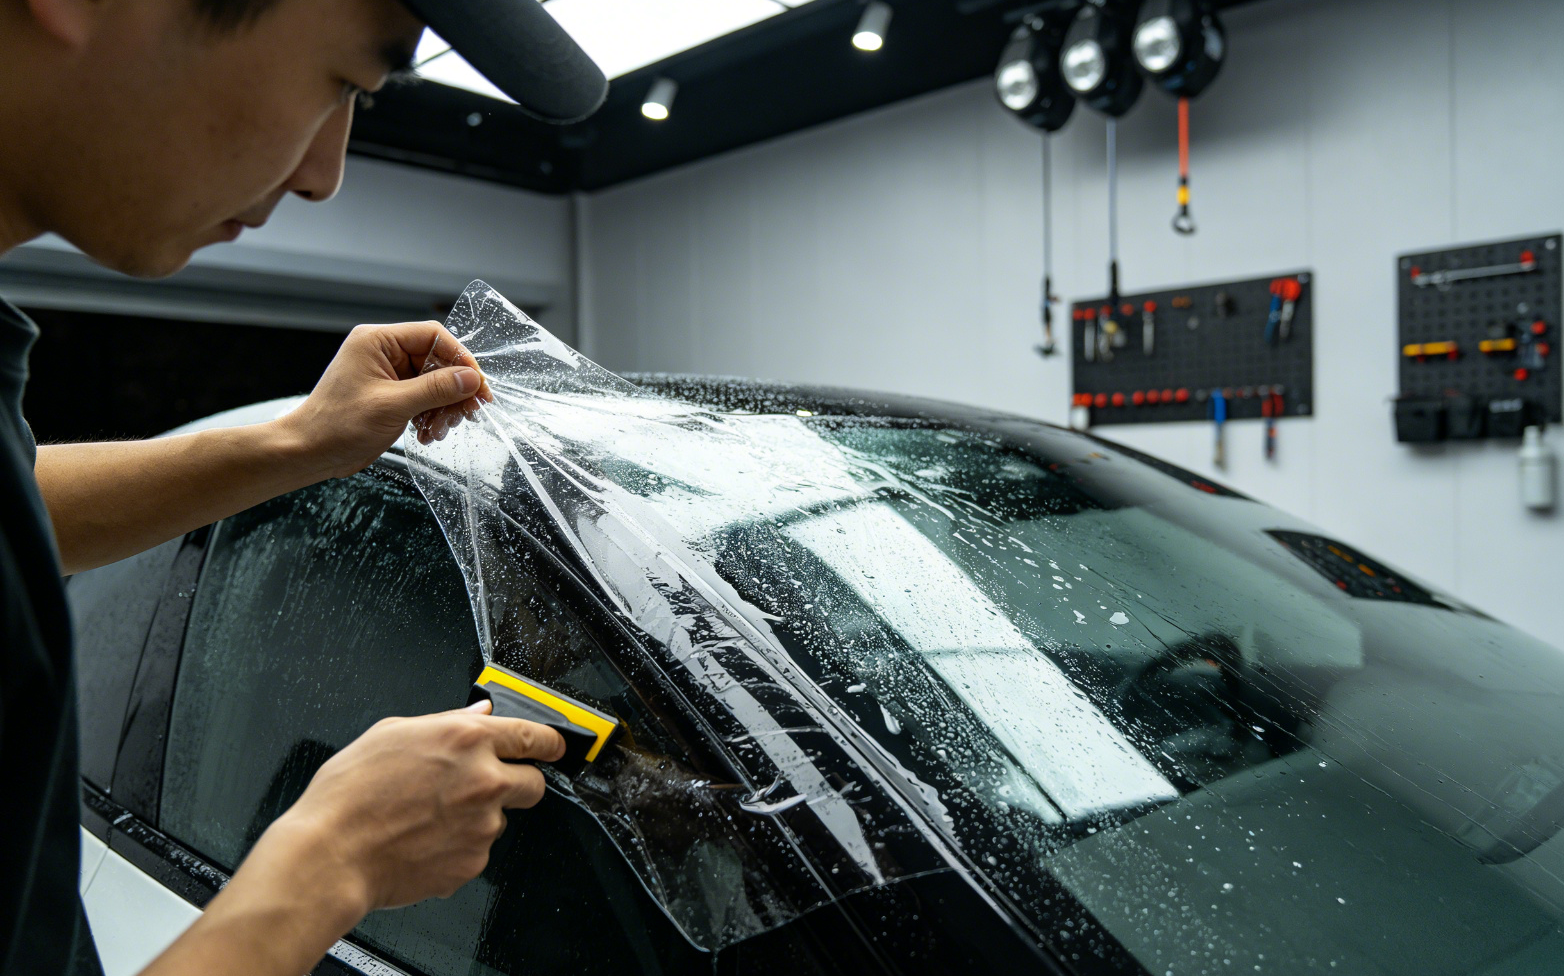
Application in a dust-controlled bay. The film is applied using a slip solution and specialized squeegees. Technicians heat the film to stretch it around contours, edges, and recesses. Working slowly, they ensure no water, air, or dust is trapped underneath.
Edge wrapping and tucking. Edges are wrapped around panel corners, under trim, and behind handles for a virtually invisible finish.
Cure period. The vehicle sits for 24–48 hours while the adhesive bonds. Water pockets under the film will evaporate over the following weeks. The owner is advised to avoid automatic car washes for the first week.
A professional install is where a great film becomes a great result. Even the best PPF will fail if poorly applied—which is why choosing a certified installer matters as much as choosing the film itself.